Inspection and Adjustment Before Using a Multimeter
(1) Check if the appearance of the multimeter is intact and undamaged. When gently shaken, the pointer should swing slightly left and right freely.
(2) Rotate the conversion switch to check if it switches flexibly and if the indicated range gear is accurate.
(3) Place the multimeter horizontally and perform mechanical zeroing. Rotate the mechanical zero adjustment screw under the dial pointer to align the pointer with the zero line on the left side of the scale.
(4) Ohmic zeroing (electrical zeroing) should be performed before measuring resistance. Place the gear switch in the ohm range and short circuit the two probes to adjust the zero ohm adjuster knob to check the battery voltage in the multimeter. If the pointer cannot point to the 0 line on the right side of the ohm scale during adjustment, the battery should be replaced.
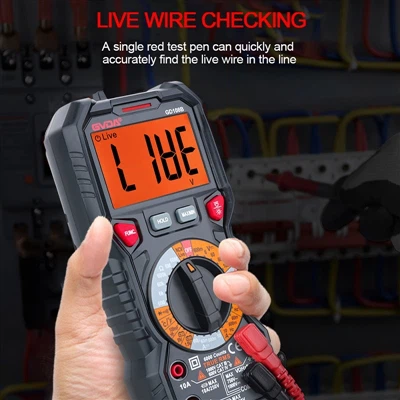
(5) Check if the test probe is plugged in correctly. The black probe should be connected to the negative terminal (-) or the common terminal (*) socket, while the red probe should be connected to the positive terminal (+) socket.
Accurately measure resistance
(1) Firstly, the measured resistor and its connecting wires should be disconnected, otherwise it will damage the instrument or affect the measurement results.
(2) The appropriate range should be selected based on the estimated value of the measured resistance. The pointer should point to both sides of the center of the scale and should not be biased towards either end.
(3) During the measurement process, every time the range gear is changed, the ohm zeroing should be performed again.
(4) During the measurement process, the test probe should have good contact with the measured resistance to reduce the impact of contact resistance; Hands should not touch the metal part of the probe to prevent unnecessary measurement errors caused by parallel connection of human resistance and the measured resistance.
(5) The measured resistor cannot have parallel branches, otherwise the measurement result will be the equivalent resistance of the measured resistor and the parallel branch, rather than the actual resistance value of the measured resistor.
(6) When measuring transistor parameters in the ohm range, considering the relatively small voltage that the transistor can withstand and the small current allowed to pass through, it is generally recommended to choose the magnification range of R × 100 or R × 1K. This is because the low rate range has a lower internal resistance and higher current, while the high rate range has a higher battery voltage to avoid damaging the transistor. Therefore, it is generally not suitable to measure the parameters of the transistor using the low or high rate range.
(7) Pay special attention to connecting the red test probe to the negative terminal of the battery inside the meter, while connecting the black test probe to the positive terminal of the battery inside the meter.
(8) After the measurement is completed, the conversion switch should be turned to neutral or the maximum AC voltage gear to prevent battery consumption when the probe is short circuited in the ohm gear. More importantly, it is important to prevent the multimeter from being damaged by forgetting to shift gears and using the ohm gear to measure voltage or current in the next use.