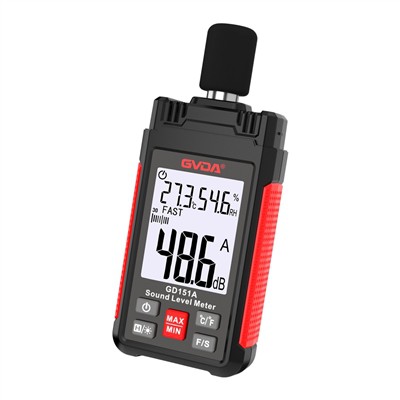
Ultrasonic thickness gauge sound speed adjustment and probe selection
I. Adjustment of the speed of sound: ultrasonic thickness gauge of the speed of sound changes, the measured value will change. For example, in the adjustment of the speed of sound, press the "ENTER" key is the speed of sound quickly adjusted to 5900M/S. In the menu, select "speed of sound" or "speed adjustment", press and hold down the "CAL" or "calibration" key for about two seconds, the speed of sound will be quickly adjusted to 5900M/S. Select "Sound Speed" or "Sound Speed Adjustment" in the menu, press and hold the "CAL" or "Calibration" key for about two seconds, the sound speed will be adjusted to 5900M/S quickly, then press "ENTER" or "Confirm" key, it will return to the "CAL" or "Confirm" key, it will return to the "CAL" or "Confirm" key. Then press "ENTER" or "Confirm" key to return to the measurement state. If there is still an error in the measurement, the standard test block on the measuring instrument, the liquid crystal should display "4.0" or "4.00mm", if it is its number, then at the same time measuring the test block while holding down the "CAL "or "Calibration" key for about 2 seconds until the number becomes "4.0" or "4.00mm", that is to say, the calibration of the instrument is completed, and you can measure accurately and correctly. You can measure accurately and correctly.
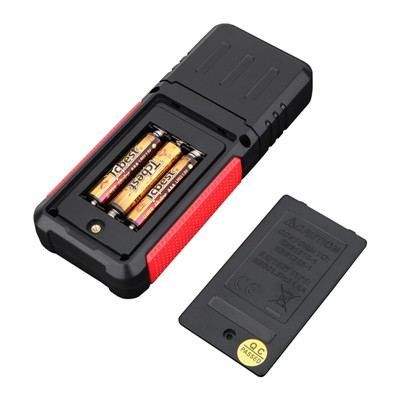
II. Probe selection: ultrasonic thickness gauge probe according to the performance and diameter classification are mainly 7MHz / φ6mm probe, 5MHz / φ10mm probe, 2.5MHz / φ14mm probe, 5MHz / φ8mm using a certain probe should be selected before the instrument corresponding to the probe press "ENTER" or "confirm" key. "Confirm" key to save, the next time you switch on the instrument, the probe will be the selected probe. In order to ensure the accuracy and stability of the instrument, it is recommended not to interchange probes. After using the instrument, the coupling agent and dirt on the probe and the instrument should be wiped off.