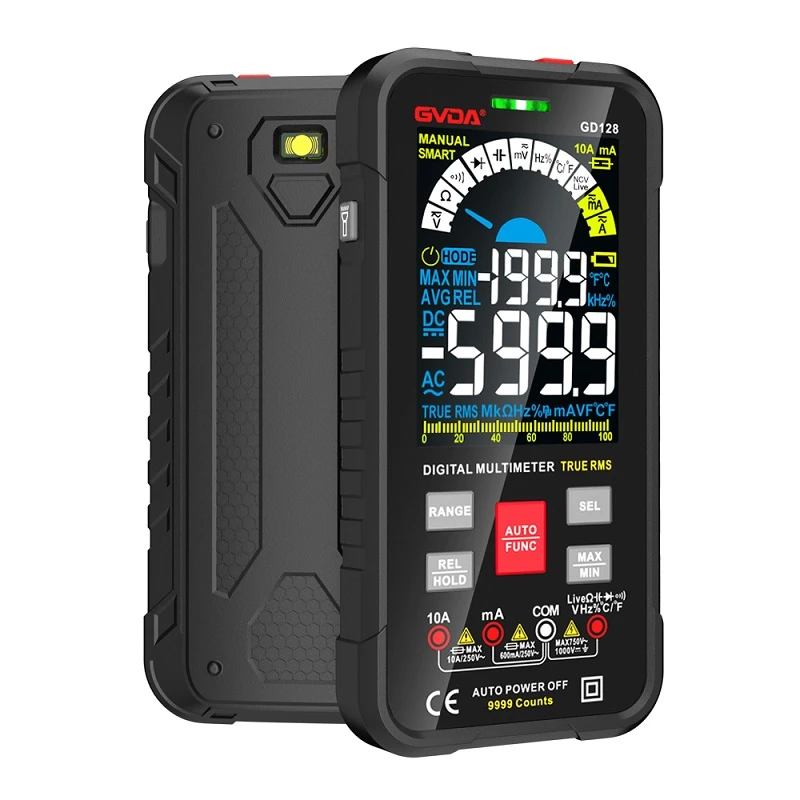
Detection of Negative Temperature Coefficient Thermistor (NTC) in a Multimeter.
(1) Measure the nominal resistance value Rt
The method of measuring NTC thermistors with a multimeter is the same as measuring ordinary fixed resistors, that is, selecting an appropriate resistance gear based on the nominal resistance value of NTC thermistors can directly measure the actual value of Rt. However, due to the sensitivity of NTC thermistors to temperature, the following points should be noted during testing: A? Rt is measured by the manufacturer at an ambient temperature of 25 ℃, so when measuring Rt with a multimeter, it should also be done when the ambient temperature is close to 25 ℃ to ensure the reliability of the test. B? The measured power should not exceed the specified value to avoid measurement errors caused by current thermal effects. C? Pay attention to correct operation. During testing, do not pinch the thermistor body with your hands to prevent human body temperature from affecting the test.
(2) Estimating temperature coefficient α T
First, measure the resistance value Rt1 at room temperature t1, then use an electric soldering iron as a heat source, close to the thermistor Rt, and measure the resistance value RT2. At the same time, use a thermometer to measure the average temperature t2 on the surface of the thermistor RT at this time, and then calculate.
Detection of varistors. R using a multimeter × Measure the forward and reverse insulation resistance between the two pins of the varistor at 1k gear, both of which are infinite. Otherwise, it indicates a high leakage current. If the measured resistance is very small, it indicates that the varistor is damaged and cannot be used.
Detection of photoresistors. A? Cover the transparent window of the photosensitive resistor with a black piece of paper, while the pointer of the multimeter remains stationary and the resistance value approaches infinity. The higher this value, the better the performance of the photosensitive resistor. If this value is very small or close to zero, it indicates that the photosensitive resistor has been burned through and cannot be used again. B? Aim a light source at the transparent window of the photosensitive resistor, and the pointer of the multimeter should swing significantly, resulting in a significant decrease in resistance. The higher this value, the better the performance of the photosensitive resistor. If this value is large or even infinite, it indicates that the photosensitive resistor has internal open circuit damage and cannot be used anymore. C? Align the transparent window of the photosensitive resistor with the incoming light, and use a small piece of black paper to shake the upper part of the photosensitive resistor's shading window, causing it to receive intermittent light. At this time, the multimeter pointer should swing left and right with the shaking of the black paper. If the pointer of the multimeter always stops at a certain position and does not swing with the shaking of the paper, it indicates that the photosensitive material of the photosensitive resistor has been damaged.