How does a multimeter measure leakage current?
Leakage is a common safety hazard in household circuits and enterprise equipment, which can lead to equipment damage, fire, and even electric shock accidents. To ensure safety, using a multimeter to measure electrical leakage is a basic skill. This article will provide a detailed introduction on how to use a multimeter to measure leakage and explain the principles behind it, helping readers better understand and operate it.
Leakage and its hazards
Leakage, as the name suggests, is the phenomenon of current leaking out through abnormal means. In a circuit, leakage may be caused by wire damage, equipment aging, wiring errors, and other reasons. Leakage of electricity can not only cause equipment damage, but also trigger fires. More importantly, it can cause electric shock injuries to the human body, posing a threat to life safety. Therefore, timely detection and handling of leakage problems are crucial.
Selection and preparation of multimeter
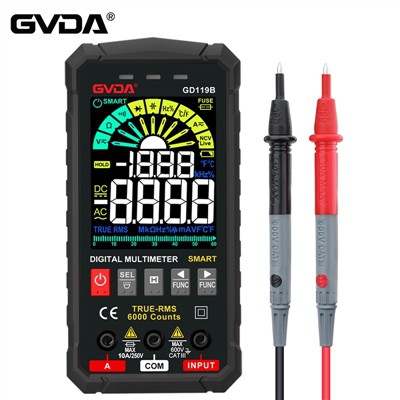
Selection of multimeter: When choosing a multimeter, it should be ensured that it has sufficient measurement range and accuracy to meet different leakage detection requirements. Meanwhile, the multimeter should have a clear display screen and easy-to-use knobs and buttons.
Preparation of a multimeter: Before using a multimeter, the battery level should be checked to ensure the accuracy of the measurement results. At the same time, the pointer of the multimeter should be reset to zero to avoid measurement errors.
Steps to measure leakage using a multimeter
Power outage and preparation: Firstly, all electrical equipment and power switches need to be turned off to ensure that the circuit is in a disconnected state. Then, select the knob of the multimeter to the resistance measurement position (Ω), and insert the red and black probes into the "V Ω" and "COM" sockets respectively.
Measure resistance: Connect the red and black probes to both ends of the circuit or device to be tested. If the circuit or equipment is normal, the resistance displayed on the multimeter should be infinite (∞), indicating no leakage phenomenon. If the resistance value is not infinite but displays a specific value, it indicates that there is a leakage phenomenon in the circuit or equipment.
Determine the location of the leakage: If a leakage phenomenon is found, it is necessary to further determine the specific location of the leakage. At this point, by gradually narrowing down the detection range, the red and black probes can be placed in contact with different parts of the circuit or device, and the resistance value displayed on the multimeter can be observed. When the resistance value suddenly decreases or reaches zero, it indicates that the location is the leakage point.
Dealing with leakage issues: After determining the location of the leakage, corresponding measures need to be taken according to the specific situation. For example, if the leakage is caused by damaged wires, the wires need to be repaired or replaced; If the leakage is caused by equipment aging or wiring errors, the equipment needs to be replaced or rewired.