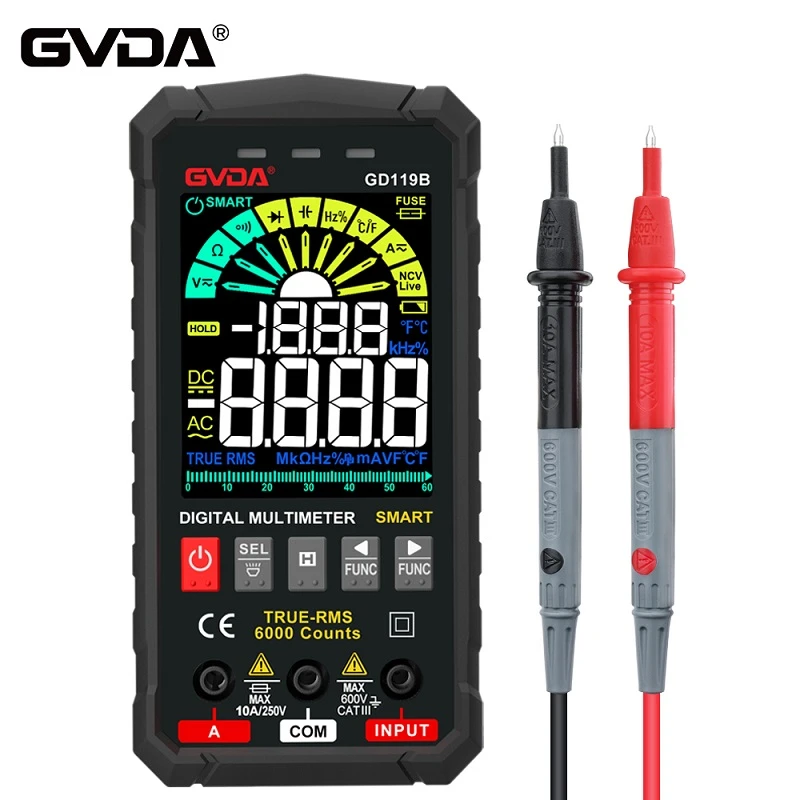
How to measure circuit leakage with a multimeter?
Strictly speaking, a megometer should be used to measure whether the line insulation resistance circuit is leaking. The megometer is equivalent to a 1000v or 500v generator. The leakage current passes through the sampling resistor inside the megometer and produces a sampling voltage indication on the resistance. Under normal circumstances, a stable voltage greater than 0.3 megohm is considered qualified.
The battery inside the multimeter is 9v to 15v, and the resistance setting can only determine the short circuit, which is a rough judgment.
In fact, if you carefully observe the broken wires and suspect there is a problem with any broken wires, you can carefully open the wire boxes. If there is a problem inside the box, pull and tap to see if the leakage fuse operates. If it is an iron pipe and there is water, the insulation layer of the wires in the pipe is not good. Determine the location and change the wires.
1. Power-off measurement: Turn off all electrical appliances, use the RX10K setting of the multimeter, one test lead is connected to the live wire, and the other test lead is connected to the ground (or faucet). The resistance should be infinite, otherwise there will be leakage.
2. Live measurement: Use a multimeter at the 250V AC voltage range to measure the metal casing of the electrical appliance that is suspected of leaking. Connect one test lead to the casing and the other to ground (or faucet). When the pointer shows that the voltage is higher than 30-50 volts, replace it. Use AC 50 volts. If the power supply is confirmed to be higher than 30 volts, it is a leakage, and if it is lower than 30 volts, it is normal. Then swap the zero and hot power supply plug wires and measure it again to confirm.
3. Leakage measurement between the live wire and the neutral wire (or the live wire and the live wire): Turn off and disconnect all electrical appliances, and measure the resistance between the live wire and the neutral wire. It should be infinite, otherwise it is leakage. The accuracy of the above method for troubleshooting is 99.9%, which is convenient, fast and practical. However, the special megohm meter must be used only during engineering, and its use is inefficient during maintenance. It is only used when the multimeter measurement is confirmed to be good, but the line is indeed leaking. Megger, but the leakage cannot be measured by the multimeter
The reasons for leakage of lighting circuits are: first, the insulation of wires or electrical equipment is damaged by external forces; second, the long-term operation of the circuit leads to aging and deterioration of the insulation; third, the circuit is invaded by moisture or contaminated, resulting in poor insulation.
To repair leakage faults, first determine whether there is indeed leakage. You can use the R×10k setting of a pointer multimeter to measure the insulation resistance of the measurement circuit, or place the digital multimeter in the AC current setting (equivalent to an ammeter at this time), connect it in series to the main switch, turn on all switches, and remove all loads ( Includes light bulb). If there is current, it means there is leakage. After confirming that the circuit is leaking, you can continue to check according to the following steps.
(1) Determine whether there is leakage between the phase line and the neutral line, leakage between the phase line and the earth, or both. The method is to cut off the neutral line. If the ammeter indication does not change, it means there is leakage between the phase line and the earth; if the ammeter indication is zero, it means there is leakage between the phase line and the neutral line; if the ammeter indication becomes smaller but not zero, it means there is leakage between the phase line and the zero line. There is leakage between wires, phase wires and the earth.
(2) Determine the leakage range. Remove the shunt fuse or pull open the circuit breaker. If the ammeter indication does not change, it means bus leakage; if the ammeter indication is zero, it means shunt leakage; if the ammeter indication becomes smaller but not zero, it means bus or shunt leakage. All have leakage.
(3) Find the leakage point. After the above inspection, turn off the switches of the lamps on the line in turn. When a certain switch is turned off, the ammeter indication returns to zero, which means the branch line is leaking; if it becomes smaller, it means that in addition to the leakage of this branch line, there is leakage elsewhere; If the ammeter indication remains unchanged after all the light switches are turned off, it means there is leakage in this section of the trunk line. By narrowing the scope of the accident in turn, you can further check whether there is leakage at the joints of this section of the line and where the wires pass through the wall. After finding the leakage point, the leakage fault should be eliminated in time.