How to repair and maintain the insulation resistance multimeter
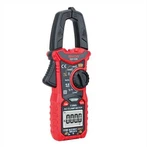
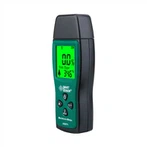
Insulation resistance multimeters generally use automatic calibration technology. In addition to specifying replaceable parts, components should not be replaced at will to avoid deviations in technical indicators. Below, Guangzhou Yingxiangjia Instrument Co., Ltd. will share with you how to repair and maintain the insulation resistance multimeter.
General maintenance
1) Regularly clean the outer shell of the instrument with a damp cloth and neutral detergent. Do not use abrasives or solvents. Dirt on the terminals and test lead terminals will affect the reading. Clean the dirt on each terminal with detergent.
2) When not in use, press the POWER button to turn off the power. If used for a long time, remove the battery.
3) The instrument should be stored away from moisture, high temperatures and strong magnetic fields.
Replacement battery
1) Press the POWER button to turn off the power, and remove the test leads or test leads from the terminals to completely disconnect the test leads from the circuit under test.
2) Remove the two screws from the battery cover and take off the battery cover.
3) Remove the battery from the battery box.
4) Replace with 6 new AA (AM3/LR6) batteries (standard capacity approximately 2450mAh).
5) Close the battery cover and install the two screws.
Replace fuse
To avoid personal injury or instrument damage caused by electric shock or arc, the fuse must be replaced according to the following steps. It can only be replaced with a fuse of the same type or electrical specifications.
1) Press the POWER button to turn off the power, and remove the test leads or test leads from the terminals to completely disconnect the test leads from the circuit under test.
2) Remove the two screws on the battery cover, the two screws on the back cover of the case and the one screw on the back of the battery, and remove the battery cover and back cover of the case.
3) Gently pry up one end of the fuse, take out the burned fuse, and replace it with a fuse of the same model or electrical specifications. Make sure the fuse is securely clamped in the middle of the fuse clip. Insurance specifications: F1A240V.
4) After closing the battery cover and the back cover of the case, tighten the four screws. Please do not use the meter before tightening them.


