How to Test Computer Power Supply with Multimeter
Modern graphics cards, sound cards, optical drives, hard drives and other hardware components all consume considerable power. When your computer is fully equipped with accessories, it is essential to equip it with a stable and high-performance power supply.
Numerous practical power supply identification methods have been shared in technical publications, which fall into three mainstream categories.
The first method is visual inspection, checking internal materials, manufacturing quality and internal layout. This approach has obvious limitations. It requires solid electronic expertise. Besides, a thorough internal check demands opening the power supply casing, which will break the warranty seal and void official after-sales service. Most novice users are forced to gain practical experience this way.
The second method is tactile judgment. After prolonged operation, feel the temperature of airflow from the cooling fan and the outer shell.
The third method is odor detection. Check if burning smell emerges after long-time working. These two methods rely solely on personal experience, making it hard for beginners to draw accurate conclusions. This article introduces a practical multimeter testing method to help novices evaluate power supply quality.
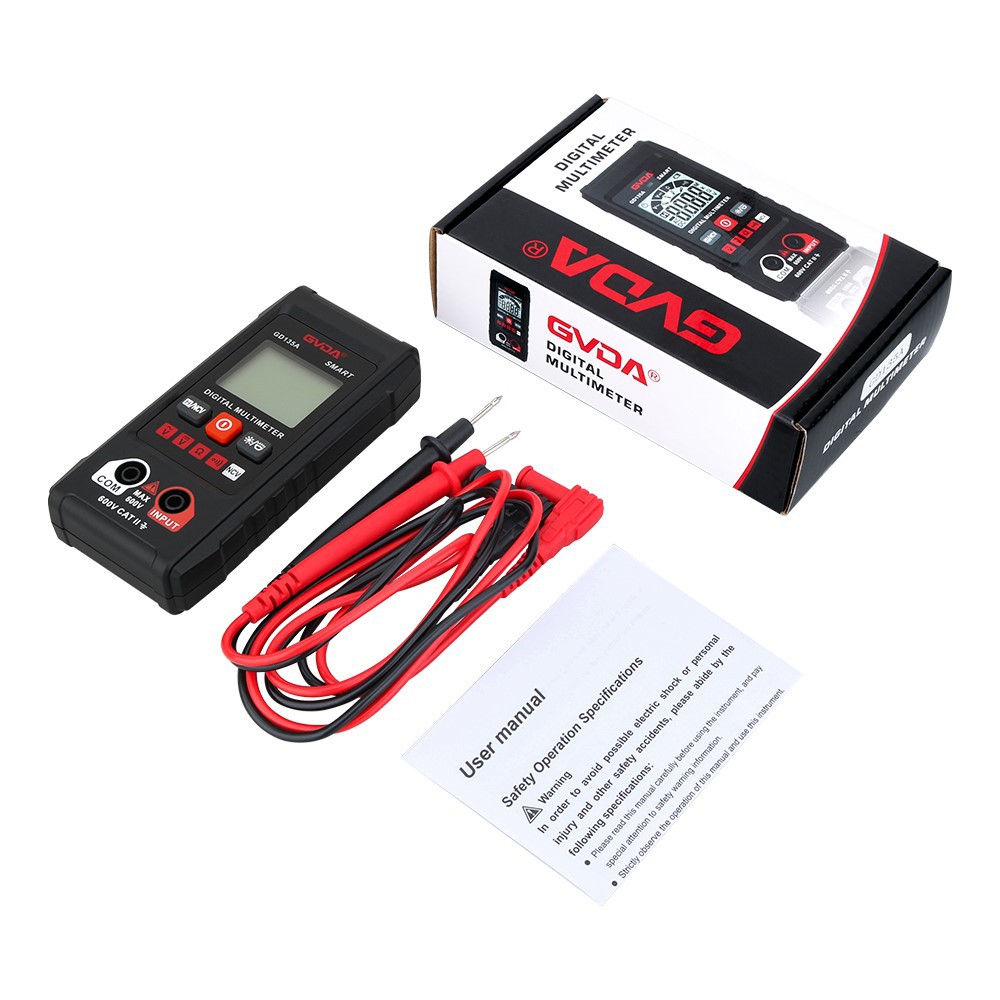
Prepare a digital multimeter and master basic operation skills. ATX power supplies mainly output 3.3V, 5.0V and 12.0V voltages. The 12.0V output dominates hardware power supply and fluctuates most obviously under heavy loads. Connect all computer hardware loads, then pick a spare power output connector. Insert the black probe into the black wire terminal and the red probe into the yellow wire terminal to measure the 12V output voltage.
Power on the computer. The multimeter reading will fluctuate and stabilize after full system startup. Record the steady voltage value. The standard range is 11.95V to 12.15V. Excessively low voltage fails to sustain stable heavy-load operation and leaves little upgrade margin.
Overhigh voltage causes excessive component heat and premature aging.
Press the RESET button to restart the computer and monitor voltage variations closely. The voltage drops to the minimum value during self-check. Record the minimum reading. A voltage fluctuation within 0.3V indicates qualified load capacity. Excessive voltage difference means poor power supply performance and is not recommended. A 300W power supply once tested showed peak voltage at 12.32V and bottom voltage at 11.73V, resulting in frequent system crashes.
Finally, conduct comprehensive operational tests. Run multiple software programs and play audio via the optical drive to fully activate all hardware parts. Stable voltage output without drastic fluctuations proves the power supply is eligible for selection.