Sound level meter use steps and precautions
1. Selection of the environment in which the sound level meter is used: select a representative test location, and the sound level meter should be kept away from the ground and the wall to reduce the additional impact of the reflected sound from the ground and walls.
2. The weather conditions require that the sound level meter should keep the diaphragm of the microphone clean when there is no rain or snow. When the wind force is above level 3, a wind cover must be added (to avoid wind noise interference), and the measurement should be stopped for strong winds above level 5.
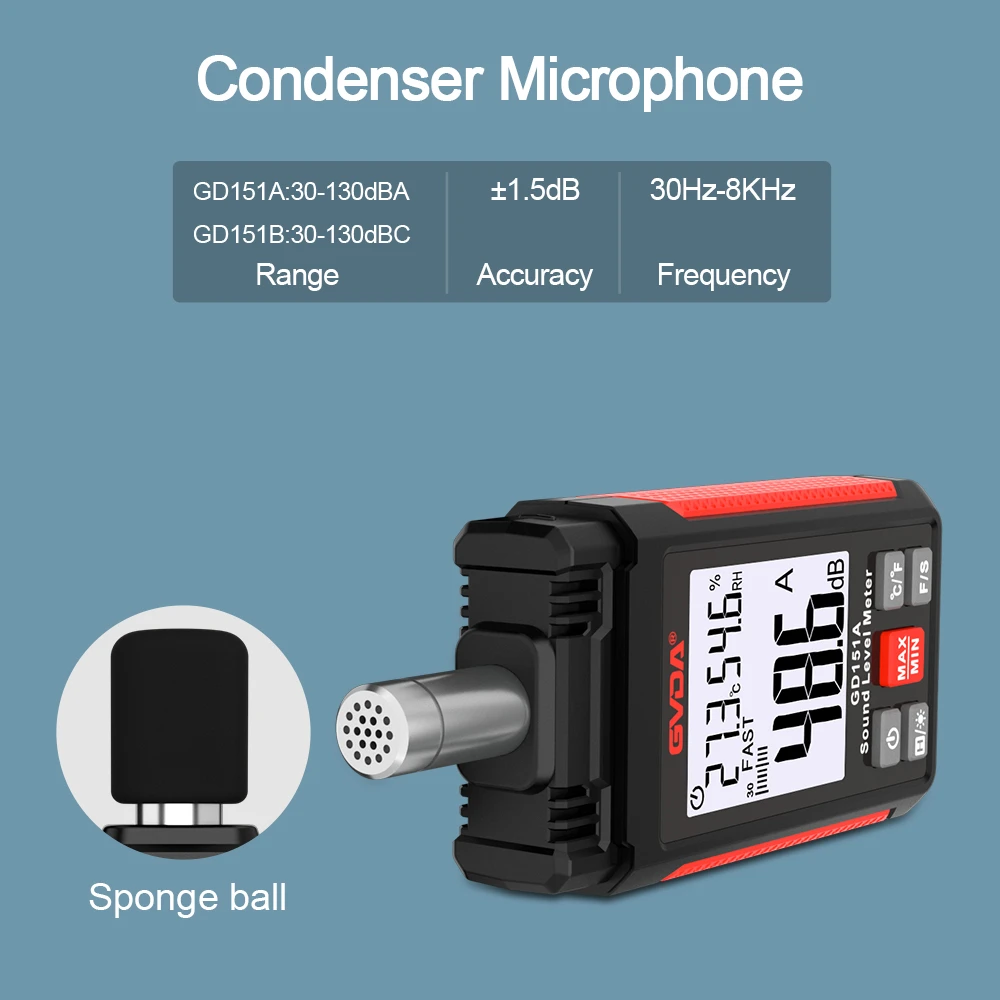
3. Open the carrying case of the sound level meter, take out the sound level meter, and put on the sensor.
4. Put the sound level meter in state A, check the battery, and then calibrate the sound level meter.
5. Use the comparison table (commonly referred to as the ambient sound level) to adjust the measurement range.
6. The following can be used fast (to measure the instantaneous value of the environment where the sound pressure level changes greatly), slow (to measure the average value in the environment where the sound pressure level does not change much), pulse (to measure the pulse sound source), filter ( Measure the sound level of the specified frequency band) Various functions are used for measurement.
7. Record data as needed, and also connect to a printer or other computer terminals for automatic collection. Organize equipment and put it back in the designated place
How to use the sound level meter
1. Check the calibration of the sound level meter with a sound calibrator
2. Set the range switch to an appropriate position according to the size of the sound to be measured. If the size cannot be estimated, set it to "85-130"
3. Set the time weighting switch to the position specified in the standard; when the sound level is relatively stable, set it to "F" (fast); if the sound level changes sharply, set it to "S" (slow)
4. Set the reading sign switch to "5S" or "3S"
5. Put the power switch on "on"; when the instrument starts to work, it will display numbers
6. If the right end of the display shows the excess mark "▲" (undershoot mark "▼"), at this time, the range switch should be moved up "or down" to make the range mark disappear. If the range mark cannot disappear, the measured sound level exceeds the measurement range of the instrument.
7. After adjusting the range of the sound level meter, you can read the measurement results from the display.
8. Make measurement records
9. After the measurement, it is recommended to check the sensitivity of the sound level meter with a sound calibrator to ensure the accuracy and reliability of the measurement data.
10. Set the power switch to "OFF". If the instrument will not be used for a long time, be sure to take out the battery.
Precautions for use of sound level meter
1. When measuring, the instrument should select the correct gear according to the situation. Hold both sides of the sound level meter flat with both hands. Impact. The use position of the sound level meter shall be determined according to relevant regulations.
2. The sound level meter is powered by batteries. Check whether the battery voltage meets the requirements: the function switch of the ammeter is set to "battery" and the "attenuator" can be set arbitrarily. At this time, the indication on the ammeter should be within the rated battery voltage range, otherwise The battery needs to be replaced. Pay attention to the polarity when installing the battery or external power supply, and do not reverse the connection. The battery should be removed when not in use for a long time, so as not to damage the instrument due to leakage
3. Read the instruction manual before use to understand the use method and precautions of the instrument. Preheat according to the preheating time specified in the instruction manual of the sound level meter (for example, 10 minutes)
4. When the voltage of the battery used by the sound level meter is insufficient, it should be replaced.
5. Calibrate the amplifier gain: set the function switch of the ammeter to "0" and the "attenuator" switch to "calibration". At this time, the pointer of the ammeter should be at the red line position, otherwise the sensitivity potentiometer needs to be adjusted
6. When you don't know how big the measured sound level is, you must put the "attenuator" at the maximum attenuation position (for example, 120dB), and then gradually adjust to the attenuation position required by the measured sound level during measurement to prevent being The measured sound level exceeds the range and the sound level meter is damaged
7. Do not disassemble the microphone, prevent it from being thrown, and place it properly when not in use.
8. The sensor is an extremely delicate and easily damaged relatively expensive part, so handle it with care during the entire experiment. After the experiment, remove the sensor and put it in the designated place.
9. The instrument should not be placed in a place with high temperature, humidity, sewage, dust, air or chemical gas with high content of hydrochloric acid and alkali.
10. Do not disassemble the instrument without authorization. If the instrument is abnormal, it can be sent to the repair unit or the factory for inspection.