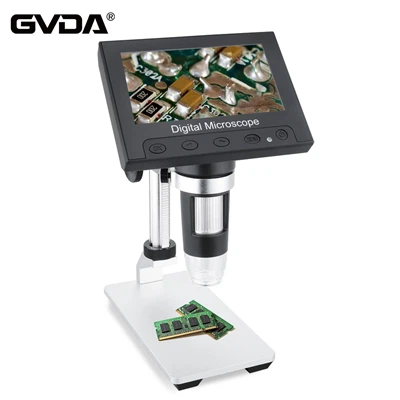
Key Details and Precautions for Microscope Operation
Stereo microscopes are widely used in various fields of industry, agriculture and scientific research thanks to their numerous advantages. Problems occurring during use can be resolved independently according to actual conditions. Common faults in practice include: blurry or dirty field of view, which may be caused by dirt on the specimen, eyepiece surface, objective lens surface or stage plate.
This can be solved by cleaning the surfaces of the specimen, eyepieces, objective lenses and stage plate as appropriate. Non‑overlapping double images may result from improper interpupillary distance adjustment, which can be corrected by resetting the interpupillary distance. They may also be caused by incorrect diopter adjustment, requiring readjustment, or mismatched magnification of the left and right eyepieces, in which case the eyepieces should be checked and reinstalled with matching magnifications. If the image is unclear, the objective lens may be dirty and should be cleaned. If blurring occurs during zooming, it may be due to improper diopter or focusing settings, so both should be readjusted. If the bulb burns out frequently or the light flickers unstably, the cause may be excessively high local line voltage, a worn‑out bulb or loose wiring. Please carefully check the voltage and all electrical connections; if the problem persists, replace the bulb.
Before use, stereo microscope calibration mainly includes focusing, diopter adjustment, interpupillary distance adjustment and bulb replacement. These steps are explained below.
Focusing: Insert the stage plate into the mounting hole on the base. Use a frosted glass stage plate for transparent specimens and a black‑and‑white plate for opaque specimens. Loosen the locking screw on the focusing slide, adjust the height of the microscope body to achieve a working distance roughly matching the magnification of the selected objective lens, then tighten the screw. For focusing, it is recommended to use flat objects such as printed paper, a straightedge or a set square.
Diopter adjustment: First set the diopter rings on both eyepiece tubes to the 0 mark. Normally, observe first through the right eyepiece tube.Turn the zoom knob to the lowest magnification, adjust the focusing knob and diopter ring until the specimen image is sharp, then turn the zoom knob to the highest magnification and continue adjusting until the image is clear. At this point, observe through the left eyepiece tube; if unclear, axially adjust the diopter ring on the left tube until the image becomes sharp.
Interpupillary distance adjustment: Swing the two eyepiece tubes to change the exit pupil distance between them.The interpupillary distance is properly adjusted when the two circular fields of view fully overlap. Note that due to differences in individual vision and eye accommodation, different users, or even the same user at different times, should perform parfocal adjustment separately to achieve optimal viewing results.
Before replacing either the upper or lower light source bulb, always turn off the power switch and unplug the power cord from the outlet.