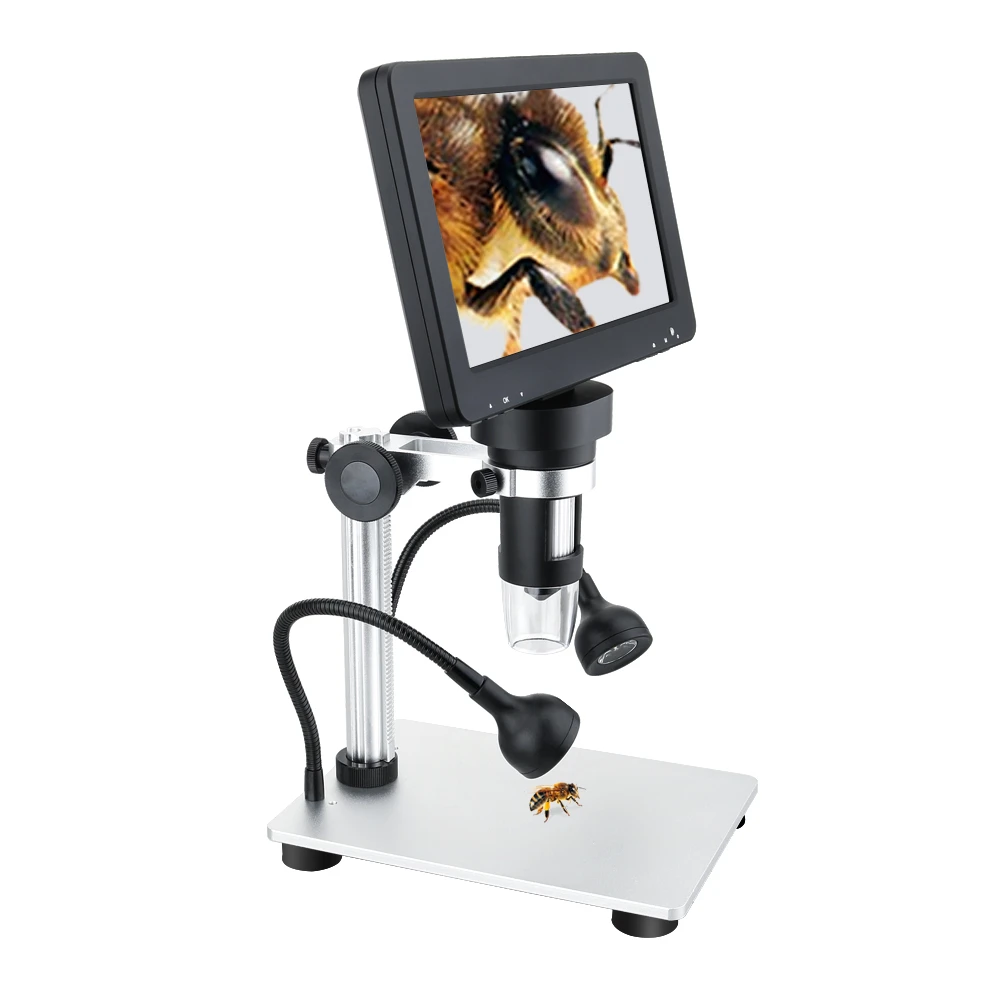
Small details and precautions in the operation of the microscope
Stereo microscope has a wide range of applications in industry, agriculture and scientific research sectors due to its many advantages. If some problems occur in the process of use, you can solve them by yourself according to the actual situation. According to the actual use of the common faults are: blurred field of view or dirt, the possible causes are dirt on the specimen, the eyepiece surface is dirty, the objective lens surface is dirty, the surface of the working plate is dirty.
According to the actual situation can be taken to clean the specimen, the eyepiece, the objective lens and the surface of the work plate of the dirt to solve. Double image does not coincide with the possible reasons for the pupil distance adjustment is not correct can be taken to correct the pupil distance measures, double image does not coincide with the degree of vision may also be adjusted incorrectly can be taken to re-adjust the degree of vision, there may be left and right eyepiece magnification is different can be checked eyepieces and re-install the same magnification of the eyepieces. If the image is not clear, there may be dirt on the surface of the objective lens, please clean the objective lens. If the image is not clear when zooming, it may be that the view is not correctly adjusted and the focus is not correctly adjusted, you can re-adjust the view and focus. If the light bulb often burns out and the light flickers, it may be that the local line voltage is too high, the light bulb is burning out and the wires are poorly connected, please check the voltage and the wire connection of the microscope carefully to see if they are firmly connected, if not, then it may be that the light bulb is burning out and the light bulb can be replaced again to solve the problem. Stereomicroscope Before using the adjustment of the main focus, visual adjustment, pupil distance adjustment and bulb replacement steps. Explained below.
1, focusing: the table plate into the base of the table plate mounting holes. Observation of transparent specimens, the choice of hairy glass plate; observation of opaque specimens, the choice of black and white plate. Then loosen the focusing slide on the fastening screws, adjust the height of the mirror body, so that its magnification with the selected objective lens roughly the same working distance. After adjusting, the fastening screw must be locked. When focusing, it is recommended to use flat objects, such as flat paper with characters printed on it, straightedge, triangular plate, etc. Degree of vision adjustment: first of all, the right and left eyepiece barrel on the degree of vision circle are adjusted to the 0 mark position. Usually, the first observation from the right eyepiece barrel.
Turn the zoom handwheel to the lowest times the position, turn the focusing handwheel and the degree of vision adjustment circle on the specimen to adjust until the specimen's image is clear, and then turn the zoom handwheel to the * high times the position of the specimen to continue to adjust the image until the specimen is clear, at this time, with the left eyepiece barrel to observe, such as unclear along the axial adjustment of the left eyepiece barrel of the degree of vision on the circle until the specimen's image is clear.
2, pupil distance adjustment: trigger the two eyepiece barrels, you can change the pupil distance of the two eyepiece barrels.
When the user observes the visual field in the two round field of vision completely overlap, indicating that the pupil distance has been adjusted. It should be noted that due to individual vision and eye adjustment differences, therefore, different users or even the same user at different times when using the same stereomicroscope, should be adjusted separately for focusing, in order to obtain the best observation effect. Whether replacing the upper light bulb or the lower light bulb, be sure to turn off the power switch and unplug the power cord from the power outlet before replacing it.
When replacing the upper light source bulb, first unscrew the knurled screw of the upper light source light box, remove the light box, then remove the bad bulb from the lamp holder, replace it with a good bulb, and then install the light box and knurled screw. When replacing the lower light source bulb, you need to remove the glass table plate or black and white table plate, from the base, and then remove the bad bulb from the lamp base and replace it with a good bulb; then install the glass table plate or black and white table plate. When replacing the bulb, please use a clean soft cloth or cotton gauze to wipe the bulb glass shell clean to ensure the lighting effect.