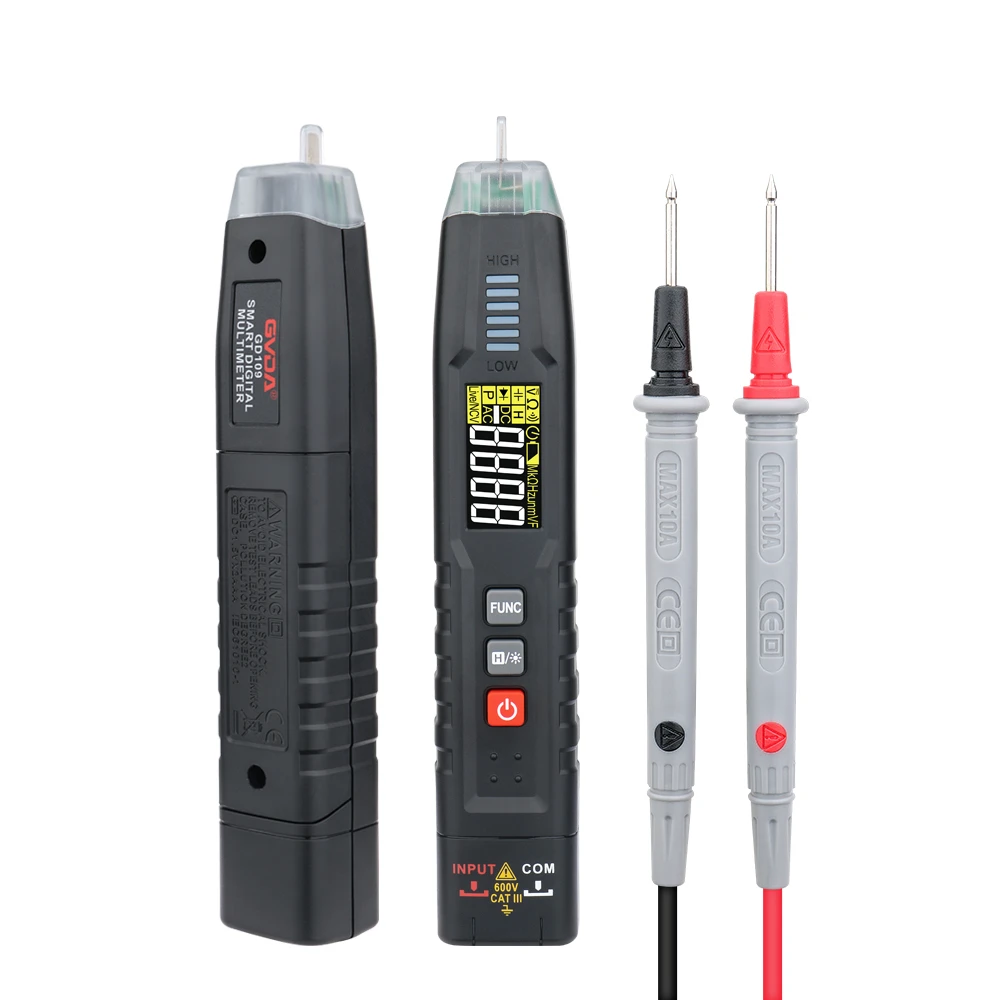
The steps of measuring current with a multimeter
Step 1: Preparation Work
Firstly, ensure that the circuit to be measured is in an open state. If the circuit to be measured is a closed circuit, you need to turn off the switch or disconnect the power supply to ensure that the current cannot pass through.
Step 2: Connect the Wires
Then, connect the black cable (i.e., the ground wire) of the multimeter to the common ground point of the circuit or the negative connection point, and connect the red cable (i.e., the measurement terminal) to the line in the circuit where you want to measure the current.
Step 3: Adjust the Knob
Next, according to the estimated range of the current to be measured, adjust the current range gear on the selection knob of the multimeter. Usually, the starting gear should be larger than the current to be measured to avoid burning out the multimeter or causing other safety issues.
Step 4: Close the Circuit
Then, close the circuit to be measured, that is, press the switch or reconnect the power supply to allow the current to start flowing. At this time, the multimeter can display the current value passing through the measured line.
Step 5: Read the Current Value
Wait for a few seconds. After the pointer or digital display of the multimeter stabilizes, you can read the measured current value. If a digital multimeter is used, the current value will be directly displayed on the meter; if an analog multimeter is used, you need to carefully observe the position of the pointer to ensure an accurate reading.
Step 6: Open the Circuit
After the measurement is completed, remember to open the circuit to be measured to avoid power consumption or other accidents.