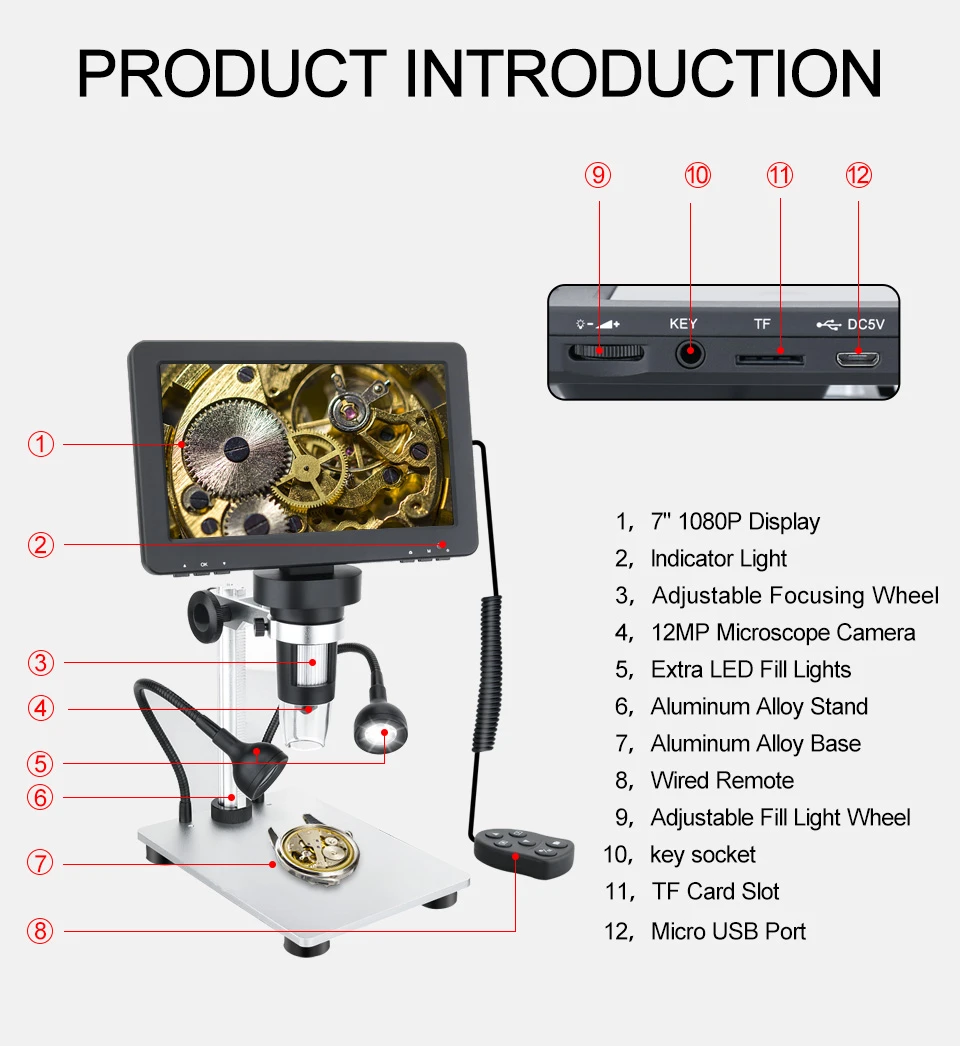
Tool measuring microscope STM6 adjustment method
Regarding the machine debugging of the Olympus measuring tool microscope STM6, from an application perspective, it mainly includes the horizontal adjustment of the stage, the anti-shock adjustment of the workbench, the horizontal adjustment of the eyepiece meter line, the horizontal adjustment of the video system and accuracy correction, etc. , here is a summary:
1. Level adjustment of the stage: Determine whether the stage is level according to the level placed on the stage. If adjustment is needed, adjust the three support legs according to the actual situation until the bubbles in the level stay on the ruler. Just around the center.
2. Anti-vibration adjustment of the workbench: If the data on the data display is found to be unstable when the machine is turned on, it can be judged that the workbench is not stable enough. This can be accomplished by adding an anti-vibration pad to the workbench or replacing it with a stronger workbench.
3. Horizontal adjustment of the eyepiece's vertical line: Find a small eye-catching point within the field of view of the clearly focused eyepiece, and move it to one end of the eyepiece's vertical line (both X and Y directions are acceptable, here the X direction is used as the force) and align them, shake the X-direction handle to move the small point to the other end along the X-direction marking line. If the small point deviates from the Repeated debugging until the small dot can always stay on the X-direction marking line when the stage moves in the X-direction.
4. Horizontal adjustment of the video system: (This project generally does not require adjustment, unless the microscope is equipped with a rotating stage and the user needs to adjust the level of the components through the frequency adjustment system) Place the standard block gauge on the rotating stage, and use the adjusted eyepieces Adjust the whole block to the level with the square meter line; tighten the CCD (video system) and the video interface, connect it to the microscope interface and lock it; move one end of the block gauge close to the end of the X-direction marking line of the crosshair in the software window, and shake the X The axis handle allows the software to view the other end of the block gauge. If the quick gauge deviates from the X-axis, rotate the CCD to bring the block gauge closer to the X-axis (this adjustment method is the same as the eyepiece adjustment method). Repeat this adjustment until the block gauge always moves in the X direction. At this time, the physical coordinate system of the CCD can be considered to be parallel to the mechanical coordinate system of the microscope stage.