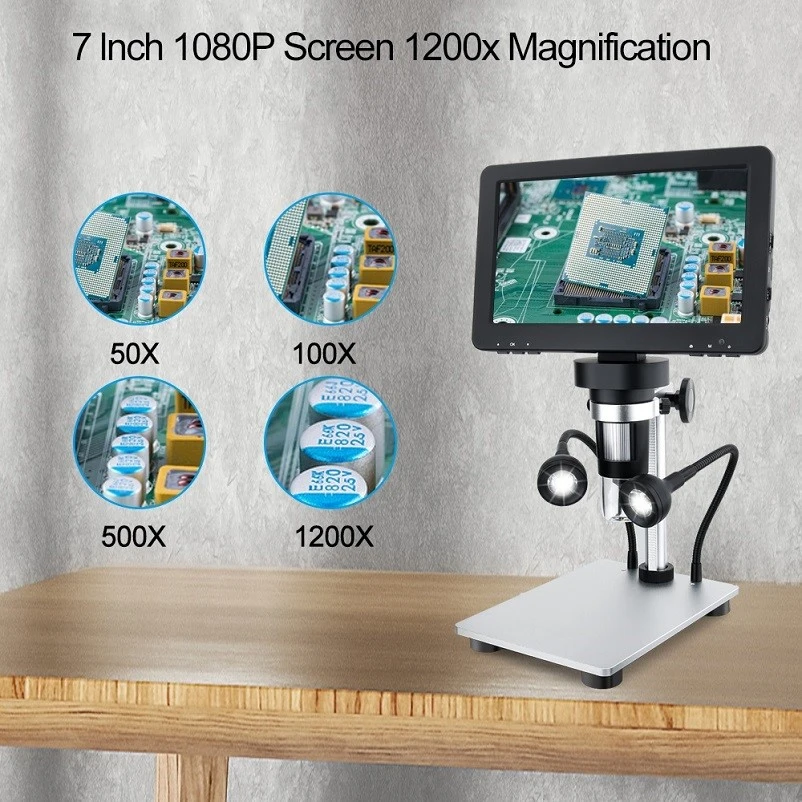
Fault Diagnosis and Maintenance for Microscopes
Ⅰ. Verification Method
Place the standard engraved scale on the worktable of the hardness tester (or microscope). During inspection, first adjust the focal length so that the engraved lines of the standard scale can be clearly observed in the eyepiece field of view or projection screen, and align them to coincide with the reticle inside the eyepiece. Then compare the engraved lines of the reading microscope with those of the standard engraved scale. Measurements shall be carried out at least at 5 intervals across the full measurement range, with 3 comparisons performed at each interval. Take the average of the three comparison results. The relative error γ is calculated by the following formula:
\(\gamma=(L_i-L)/L\times100\%\)
Where: γ - relative error; \(L_i\) - the length measured in the comparison segment of the reading microscope (mm), (\(i=1\sim5\)); L - the actual length of the comparison segment on the standard engraved scale (mm).
The graduations of the reading microscope shall be compared segment by segment using the above method, and its error shall not exceed ±0.5%.
Ⅱ. Fault Cause Analysis and Maintenance
① Blurry microscope image Main cause: Dirty or moldy lens.
Troubleshooting method: If dust or dirt exists on the lens, remove contaminants with a brush or feather. Then wipe carefully in a circular path with lens paper or absorbent cotton dipped in a small amount of anhydrous ethanol. Do not allow the wiping liquid to flow.
② The edge of indentation cannot be clearly observed inside the lens Main cause: Looseness of some lens elements.
Troubleshooting method: Retighten the loose lens components.
③ Graduations of the reading microscope do not align with the standard scale Main cause: Loose objective lens or missing gasket at the joint between objective lens and lens barrel, resulting in focal length variation.
Troubleshooting method: Fasten the objective lens tightly. If the gasket is missing, repeatedly test the gasket thickness and fit a suitable gasket until the graduation error is minimized.