How do I use a digital coating thickness gauge?How do I use a digital coating thickness gauge?
1) Turn on the digital coating thickness gauge
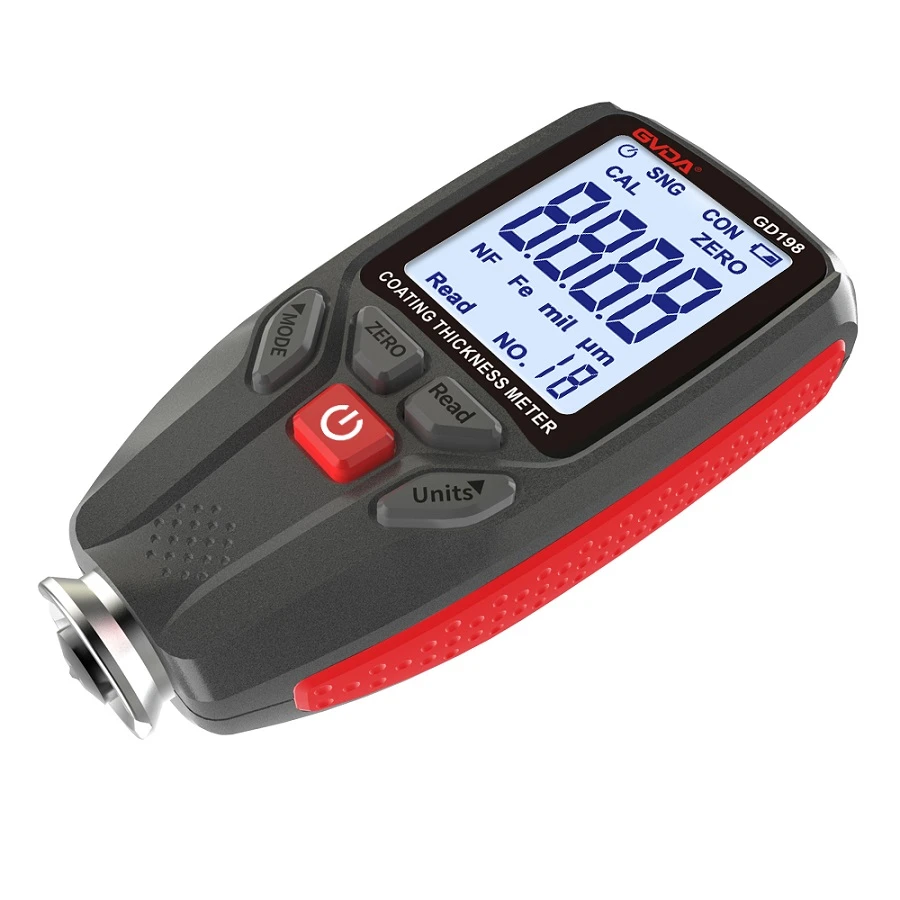
After pressing the ON button, the instrument hears a beep and the instrument number GO8100 is displayed on the screen. After automatically restoring the parameter settings before the last shutdown, 0 will be displayed and the instrument will enter the test state. The workpiece can be measured. The instrument will automatically shut down after a period of not being used.
2) Digital coating thickness gauge measurement
The instrument will automatically sense the measured substrate: when it detects a magnetic substrate, it displays Fe; when it detects a non-magnetic metal, it displays NFe. Please always keep the instrument vertical when measuring!
3) Zero calibration of digital coating thickness gauge
Press the probe vertically on the reference block in the test state, then <╳.╳μm> will be displayed on the screen, and then press the "ZERO" key to perform zero calibration. During the above process, the probe is kept pressed against the base body, and the probe cannot be lifted until the screen displays (0 CAL). Repeat zero calibration to obtain a better zero point.
Note: Because the material of the Fe sheet and Al sheet we provide is not exactly the same as your company's base material, that is, the zero position is different, so the scientific method is to perform zero position calibration on the smooth substrate of your company's actual workpiece!
4) Two-point calibration of digital coating thickness gauge
4.1 Calibrate the zero position first. The method is the same as zero calibration.
4.2 Place the standard membrane block on the reference block and measure its value with an instrument. If the measured value on the display screen is different from the standard diaphragm, you can use ▲ and ▼ to correct the reading so that it meets the standard. Calibration is complete and measurement can begin. Please lift the probe when using ▲ and ▼ to correct the reading.