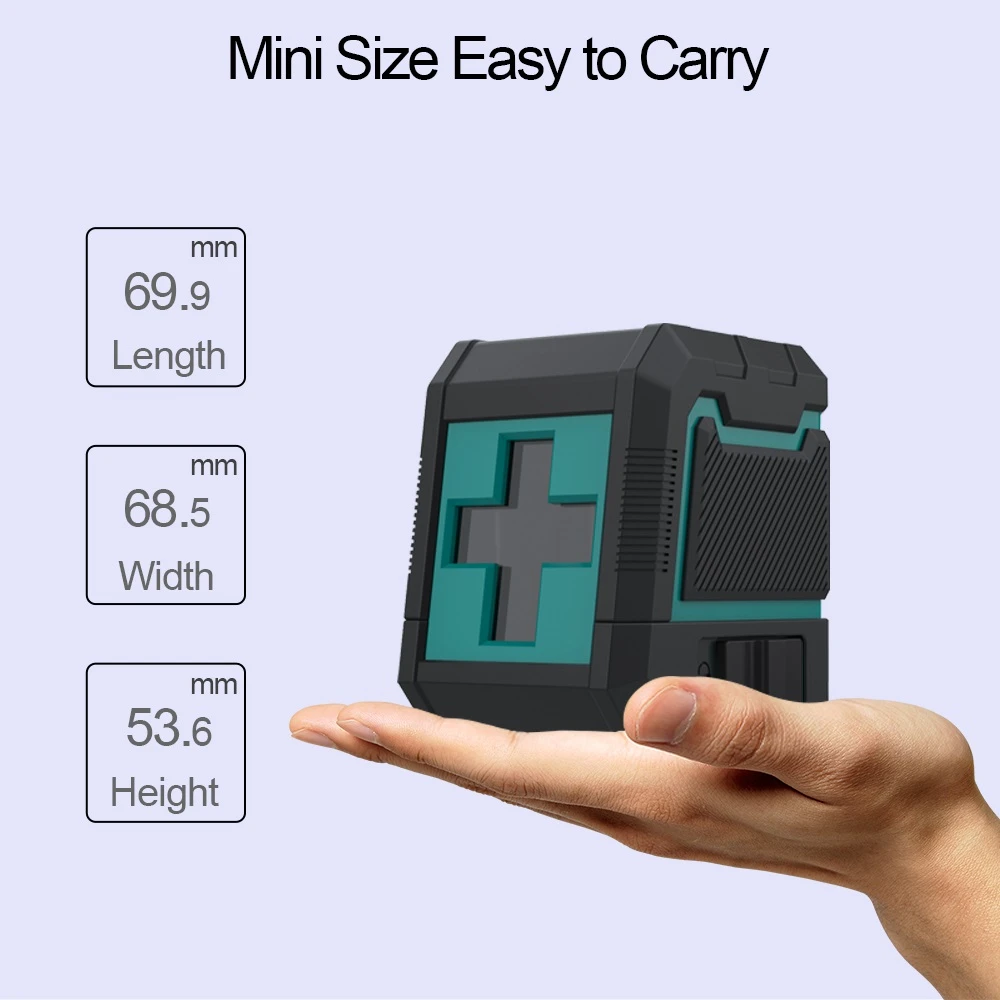
Use of Level Meter and Zero Calibration Method
The zero position of the level meter is not accurate, but I don't know how to adjust it. Now let’s do a specific analysis on these issues:
1. The reasons for the zero position error of the level meter:
Factors such as transportation, placement, vibration, temperature, wear, and adhesive aging will cause the zero position of the level meter to be inaccurate, so the correctness of the zero position indication error of the level meter should be checked before use. In the process of laboratory calibration, the correctness of the zero position is also checked first, and then the next step of calibration is performed.
2. Calibration method of zero position of level meter
There are two ways to calibrate the zero position of frame-type and strip-type level gauges: one is to check the correctness of the zero-position error on a roughly horizontal plate (or machine tool guide rail); "Calibration Specification for Level Meter" to calibrate the zero error. Now it is described as follows:
1. Check the correctness of the zero position error on a roughly horizontal flat plate (or machine tool guide rail).
After the bubbles are stable, take a reading at one end (such as the left end) and set it to zero. Then turn the spirit level 180. , still placed on the original position of the plate, usually it is advisable to place a positioning block. After the bubble is stabilized, the reading (A grid) is still at the original end (left end), and the zero indication error of the level meter is 1/2A grid. The value should meet the requirements in Table 1.
2. According to JJF1084-2002, the zero error calibration is carried out on the zero position calibrator of the level meter.
JJF1084-2002 introduced the zero error calibration method based on five different working surfaces.
The zero position error based on the working plane is introduced.
Before measurement, place the level to be calibrated with a clean (polished and cleaned) measuring surface on the workbench of the zero position calibrator of the level, close to the positioning block. After the bubble stabilizes, count o at one end of the bubble. ;Then turn the level meter 180o, put it in the original position accurately, record the reading at the other end of the bubble according to the first reading side, half of the difference between the two readings is the zero error. According to Table 1 requirements. Make a pass or fail judgment. If the zero error exceeds the allowable range in Table 1, the level meter zero adjustment mechanism (adjusting screw or nut) needs to be adjusted to reduce the zero error to within the allowable range. Do not turn the screws and nuts that are not adjusted at will. Before calibration and adjustment, the working surface of the level meter and the calibration table such as the flat plate must be wiped clean.